
Build Your Own Python Library for Microsoft Fabric Notebooks
When you’ve got more than one data engineer building things in Microsoft Fabric, you’ve probably hit the same little annoyance I did: everyone is quietly rewriting the same helper functions. Same string concat. Same date parser. Same five-line utility nobody can find when they actually need it.
There are a few ways to tackle this – sharing notebooks, dropping things into a “shared tools” workspace, or pinning best practices into team docs. They all sort of work. But honestly, the cleanest way I’ve found is to package your code into a proper Python library and install it through your custom Environment.
This post builds on top of my previous one: Custom Environment – what’s that, what is the reason. If you haven’t read that yet, give it a quick look first – I’ll skip over the Environment basics here and focus only on the library part.
How It Works in Fabric
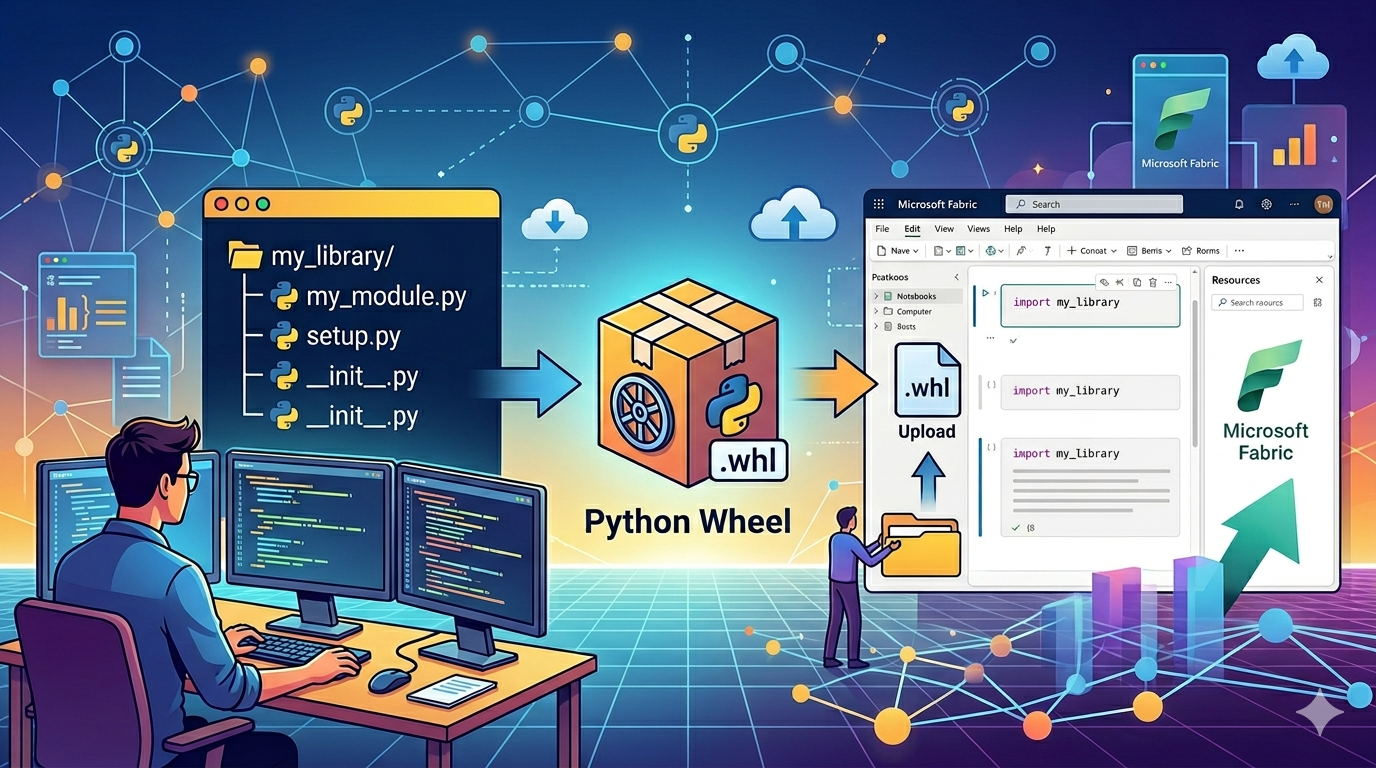
Quick mental model before we touch any code: you build your own Python package, compile it into a .whl (wheel) file, and upload that wheel to your Fabric Environment as a custom library. Any notebook that uses that Environment gets your code as a normal import – no pip install cells, no copy-pasting helpers between notebooks.
For this post I built a tiny library that just concatenates strings. Nothing exciting on its own, but the structure scales – once you’ve got the wheel pipeline working, you can drop in date helpers, file utilities, ingestion patterns, whatever your team keeps reinventing.
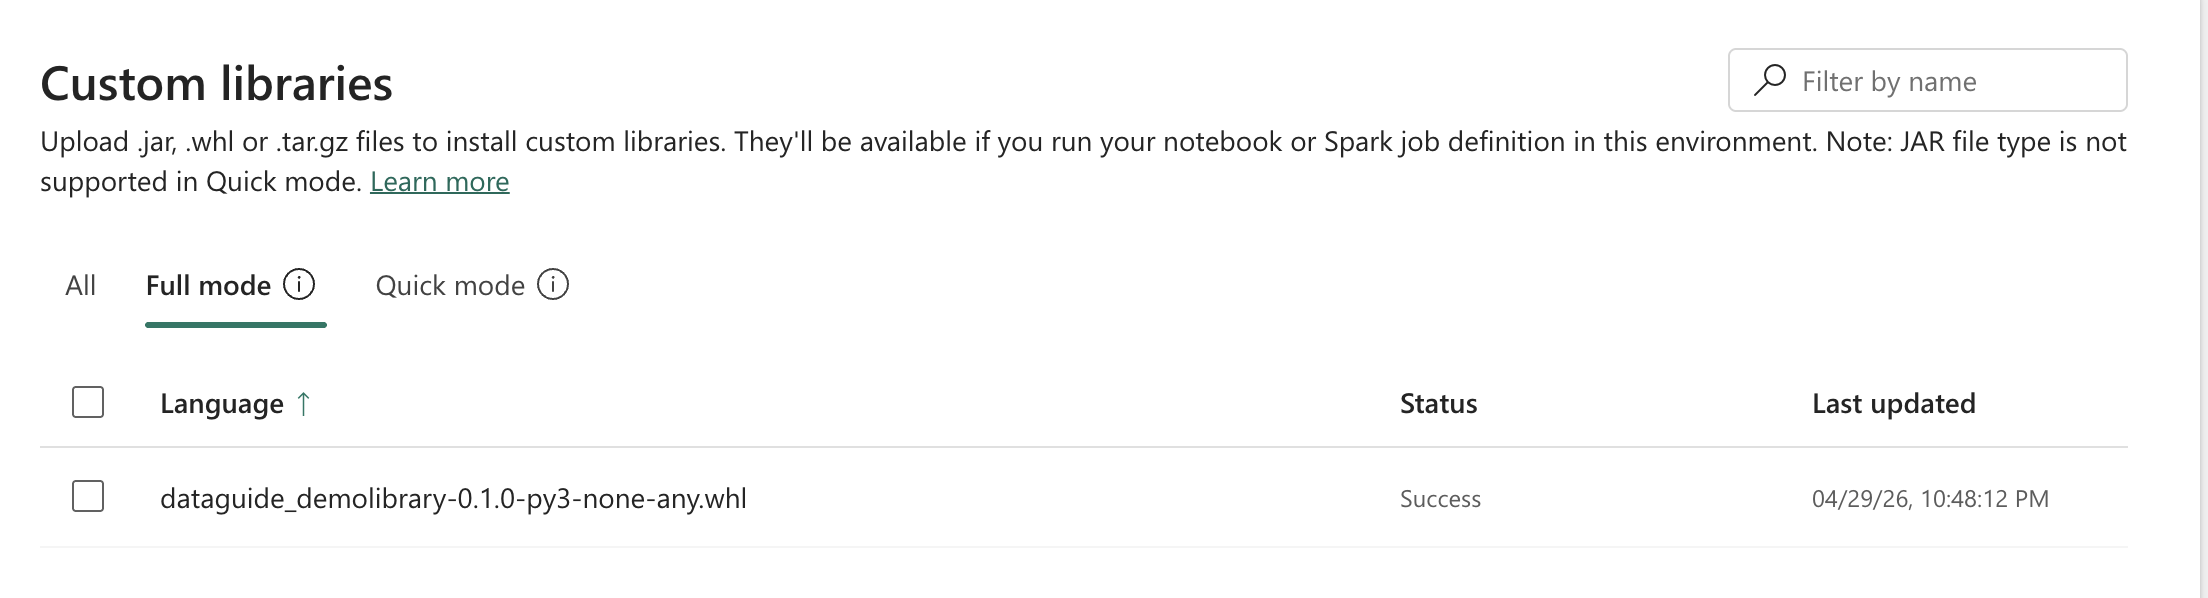
Here’s what it looks like once it’s uploaded into the Environment:
And here’s the same library being imported and used in a notebook:
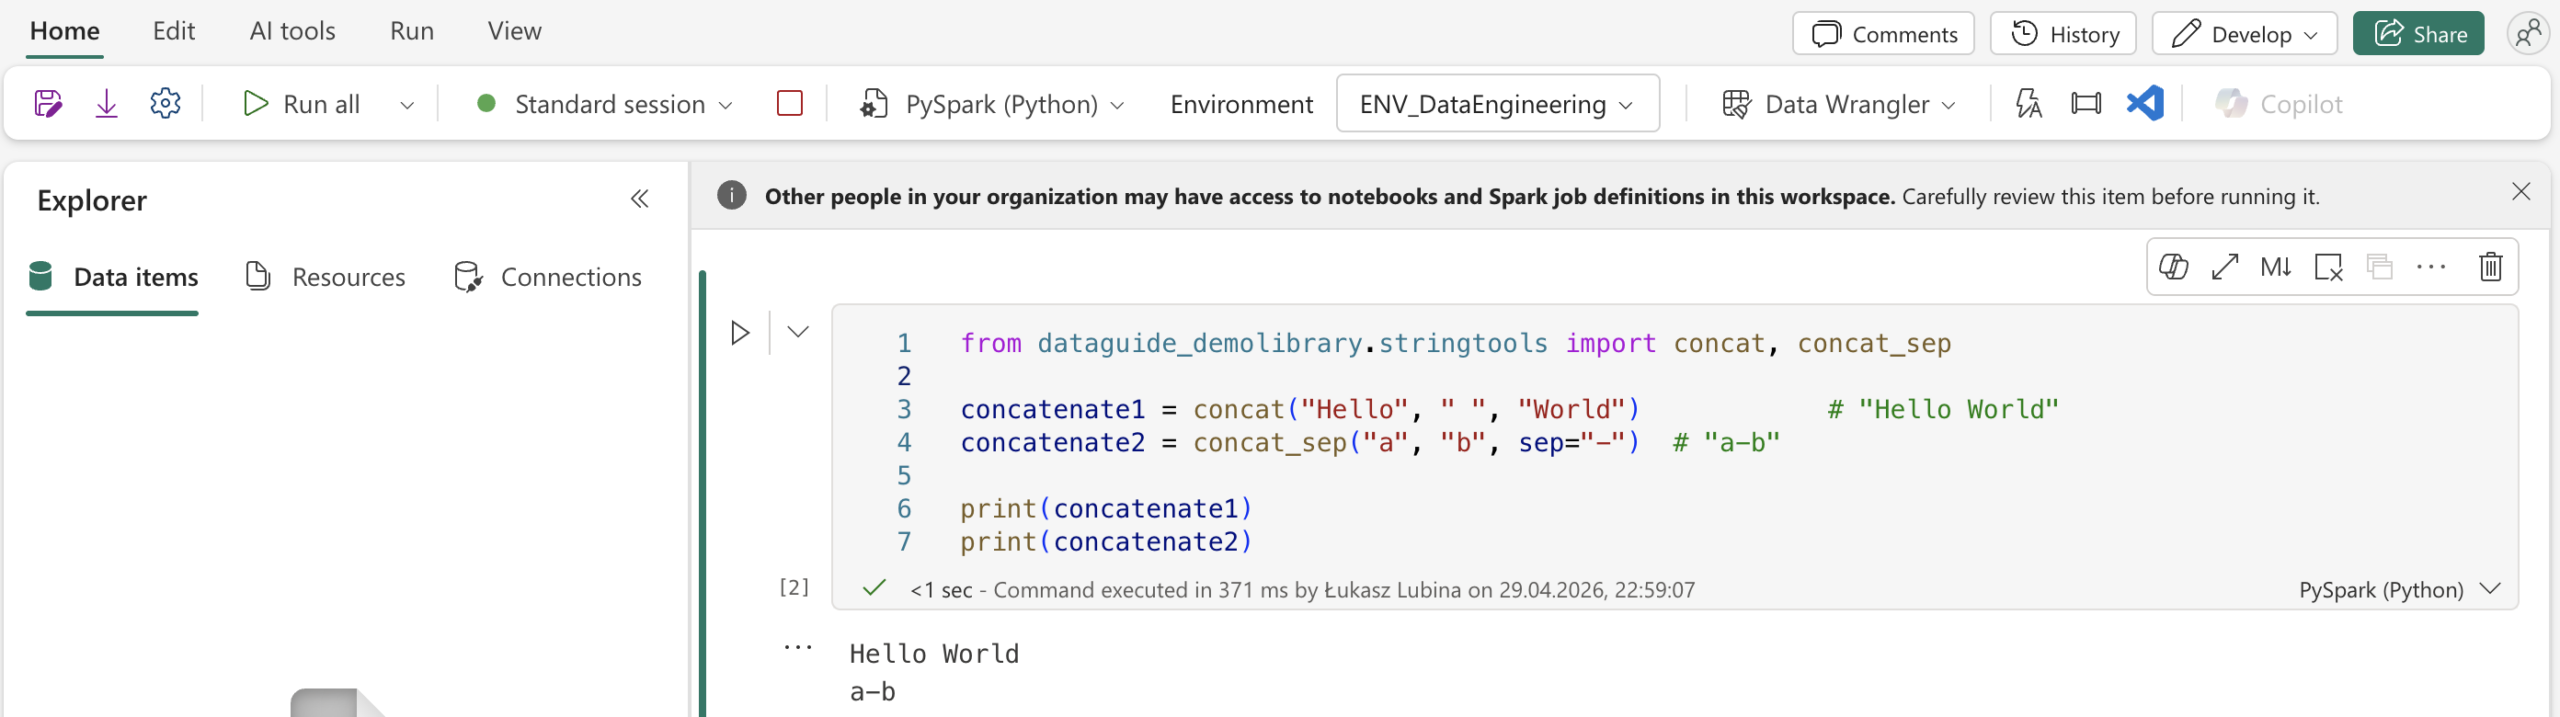
Clean. Reusable. Your team stops duplicating logic across the tenant.
Ok, now the actual build.
Setting Up the Project Structure
I’m using VS Code for this. Any Python-friendly editor works, but the screenshots will be from VS Code.
The folder layout I use for a small library:
dataguide_demolibrary/
├── dataguide_demolibrary/
│   ├── __init__.py          ← package front door
│   ├── stringtools.py       ← string functions (one of many modules)
│   ├── datetools.py         ← future: date helpers
│   ├── filetools.py         ← future: file helpers
│   └── ...                  ← keep adding modules here
├── pyproject.toml
└── README.md
What each piece is doing:
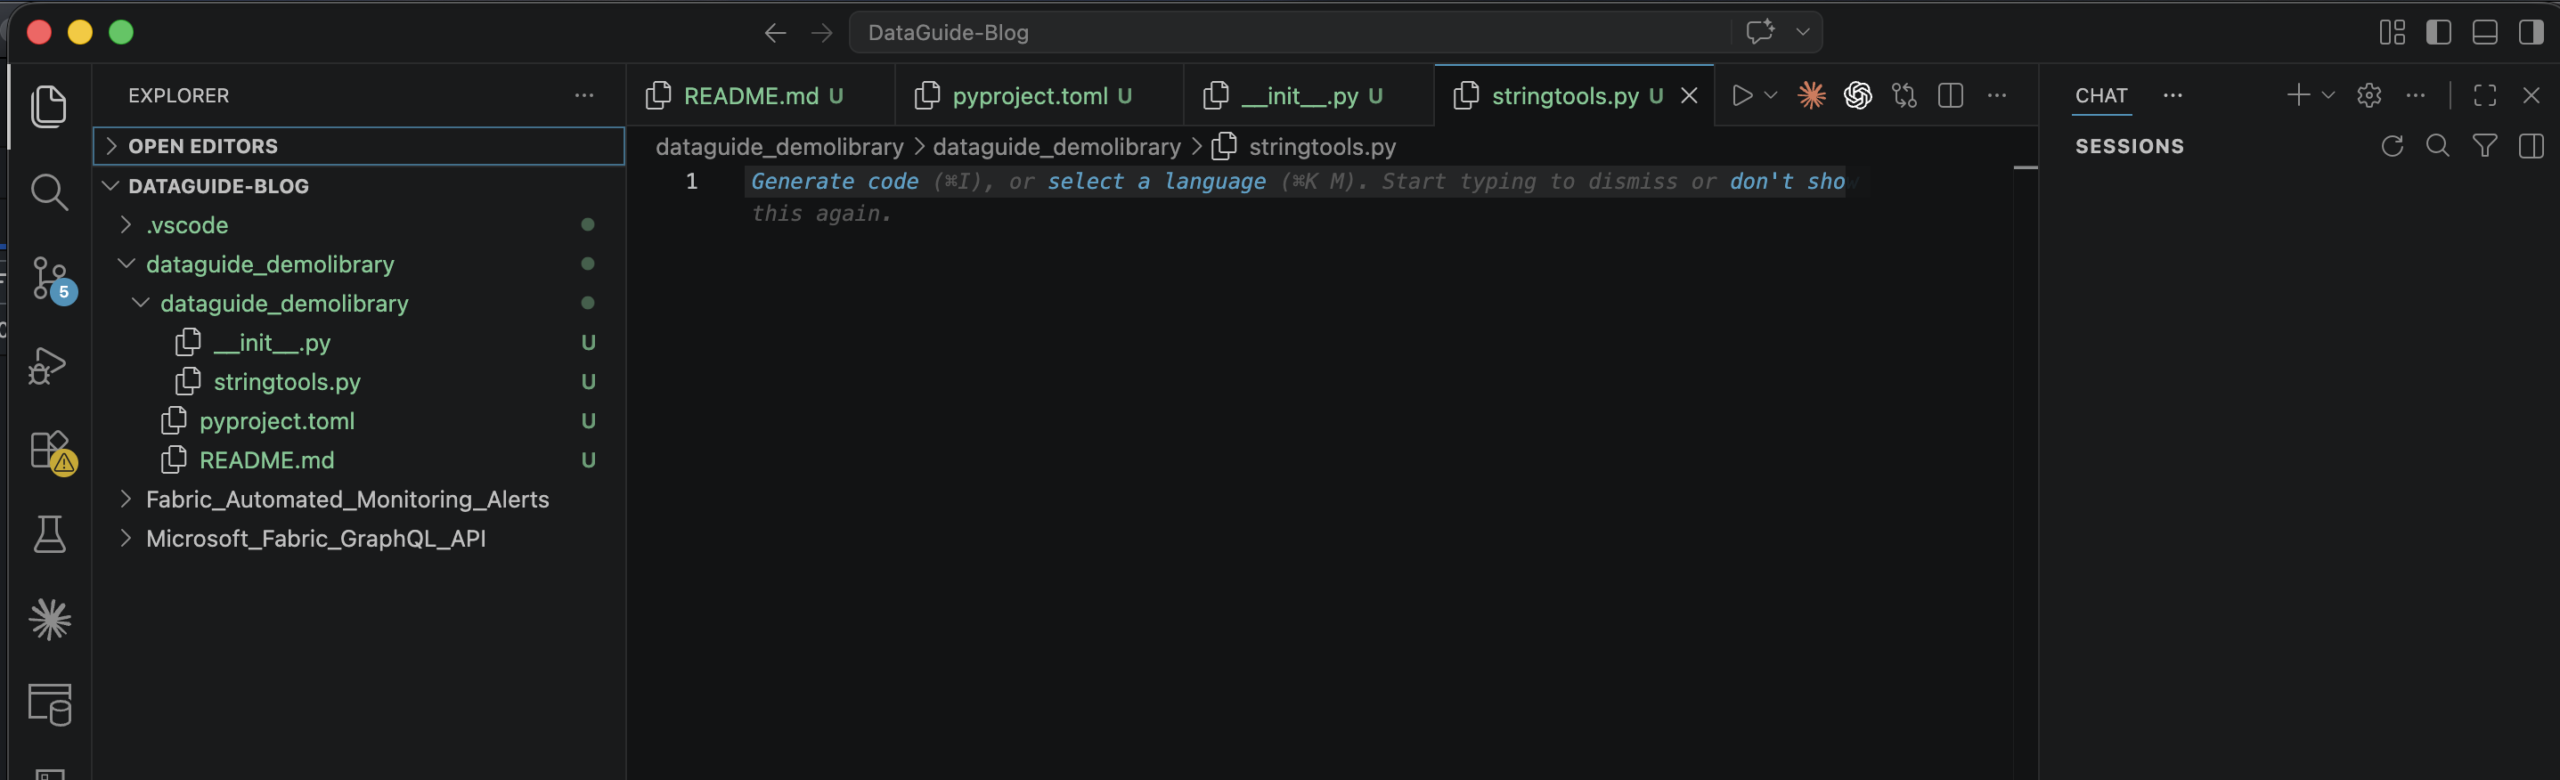
dataguide_demolibrary/__init__.py– the front door of the package. Python looks here first when someone imports the library.dataguide_demolibrary/stringtools.py– the actual logic lives here. You don’t strictly need separate module files, but it pays off the moment your library grows past a couple of functions.pyproject.toml– the library’s ID card. It tellspipwhat this thing is, how to build it, and what it needs to run.README.md– short doc covering what the library does and how to install/use it.
In VS Code I just create the same structure manually:
Writing the Code
Let’s start with the heart of the library – stringtools.py:
"""String concatenation helpers."""


def concat(*args: str, sep: str = "") -> str:
    """Concatenate strings without a separator.

    >>> concat("hello", "world")
    'helloworld'
    """
    return sep.join(args)


def concat_sep(*args: str, sep: str = "_") -> str:
    """Concatenate strings with a separator (default: underscore).

    >>> concat_sep("hello", "world")
    'hello_world'
    >>> concat_sep("a", "b", "c", sep="-")
    'a-b-c'
    """
    return sep.join(args)
Two functions, doctests in the docstrings, type hints – nothing fancy, but it gives you a feel for what a “real” library looks like.
Next, __init__.py. This is what makes the package importable and exposes the functions you want available at the top level:
"""dataguide_demolibrary - personal utility toolkit by Łukasz."""

__version__ = "0.1.0"

from dataguide_demolibrary.stringtools import concat, concat_sep
Then pyproject.toml – the build configuration:
[build-system]
requires = ["setuptools>=68.0", "wheel"]
build-backend = "setuptools.build_meta"

[project]
name = "dataguide-demolibrary"
version = "0.1.0"
description = "Personal utility toolkit - string, date, and file helpers."
requires-python = ">=3.10"And finally a minimal README.md:
# dataguide-demolibrary

Personal utility toolkit.

## Install

pip install -e .

## Usage

from dataguide_demolibrary.stringtools import concat, concat_sep

concat("hello", "world")            # "helloworld"
concat_sep("hello", "world")        # "hello_world"
That’s the whole project. Four files.
Building the Wheel
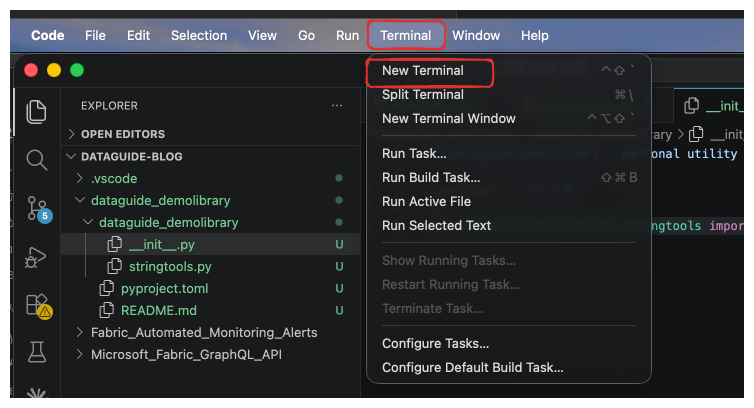
Save everything first. Then open the integrated terminal in VS Code (Terminal → New Terminal if it isn’t already open):
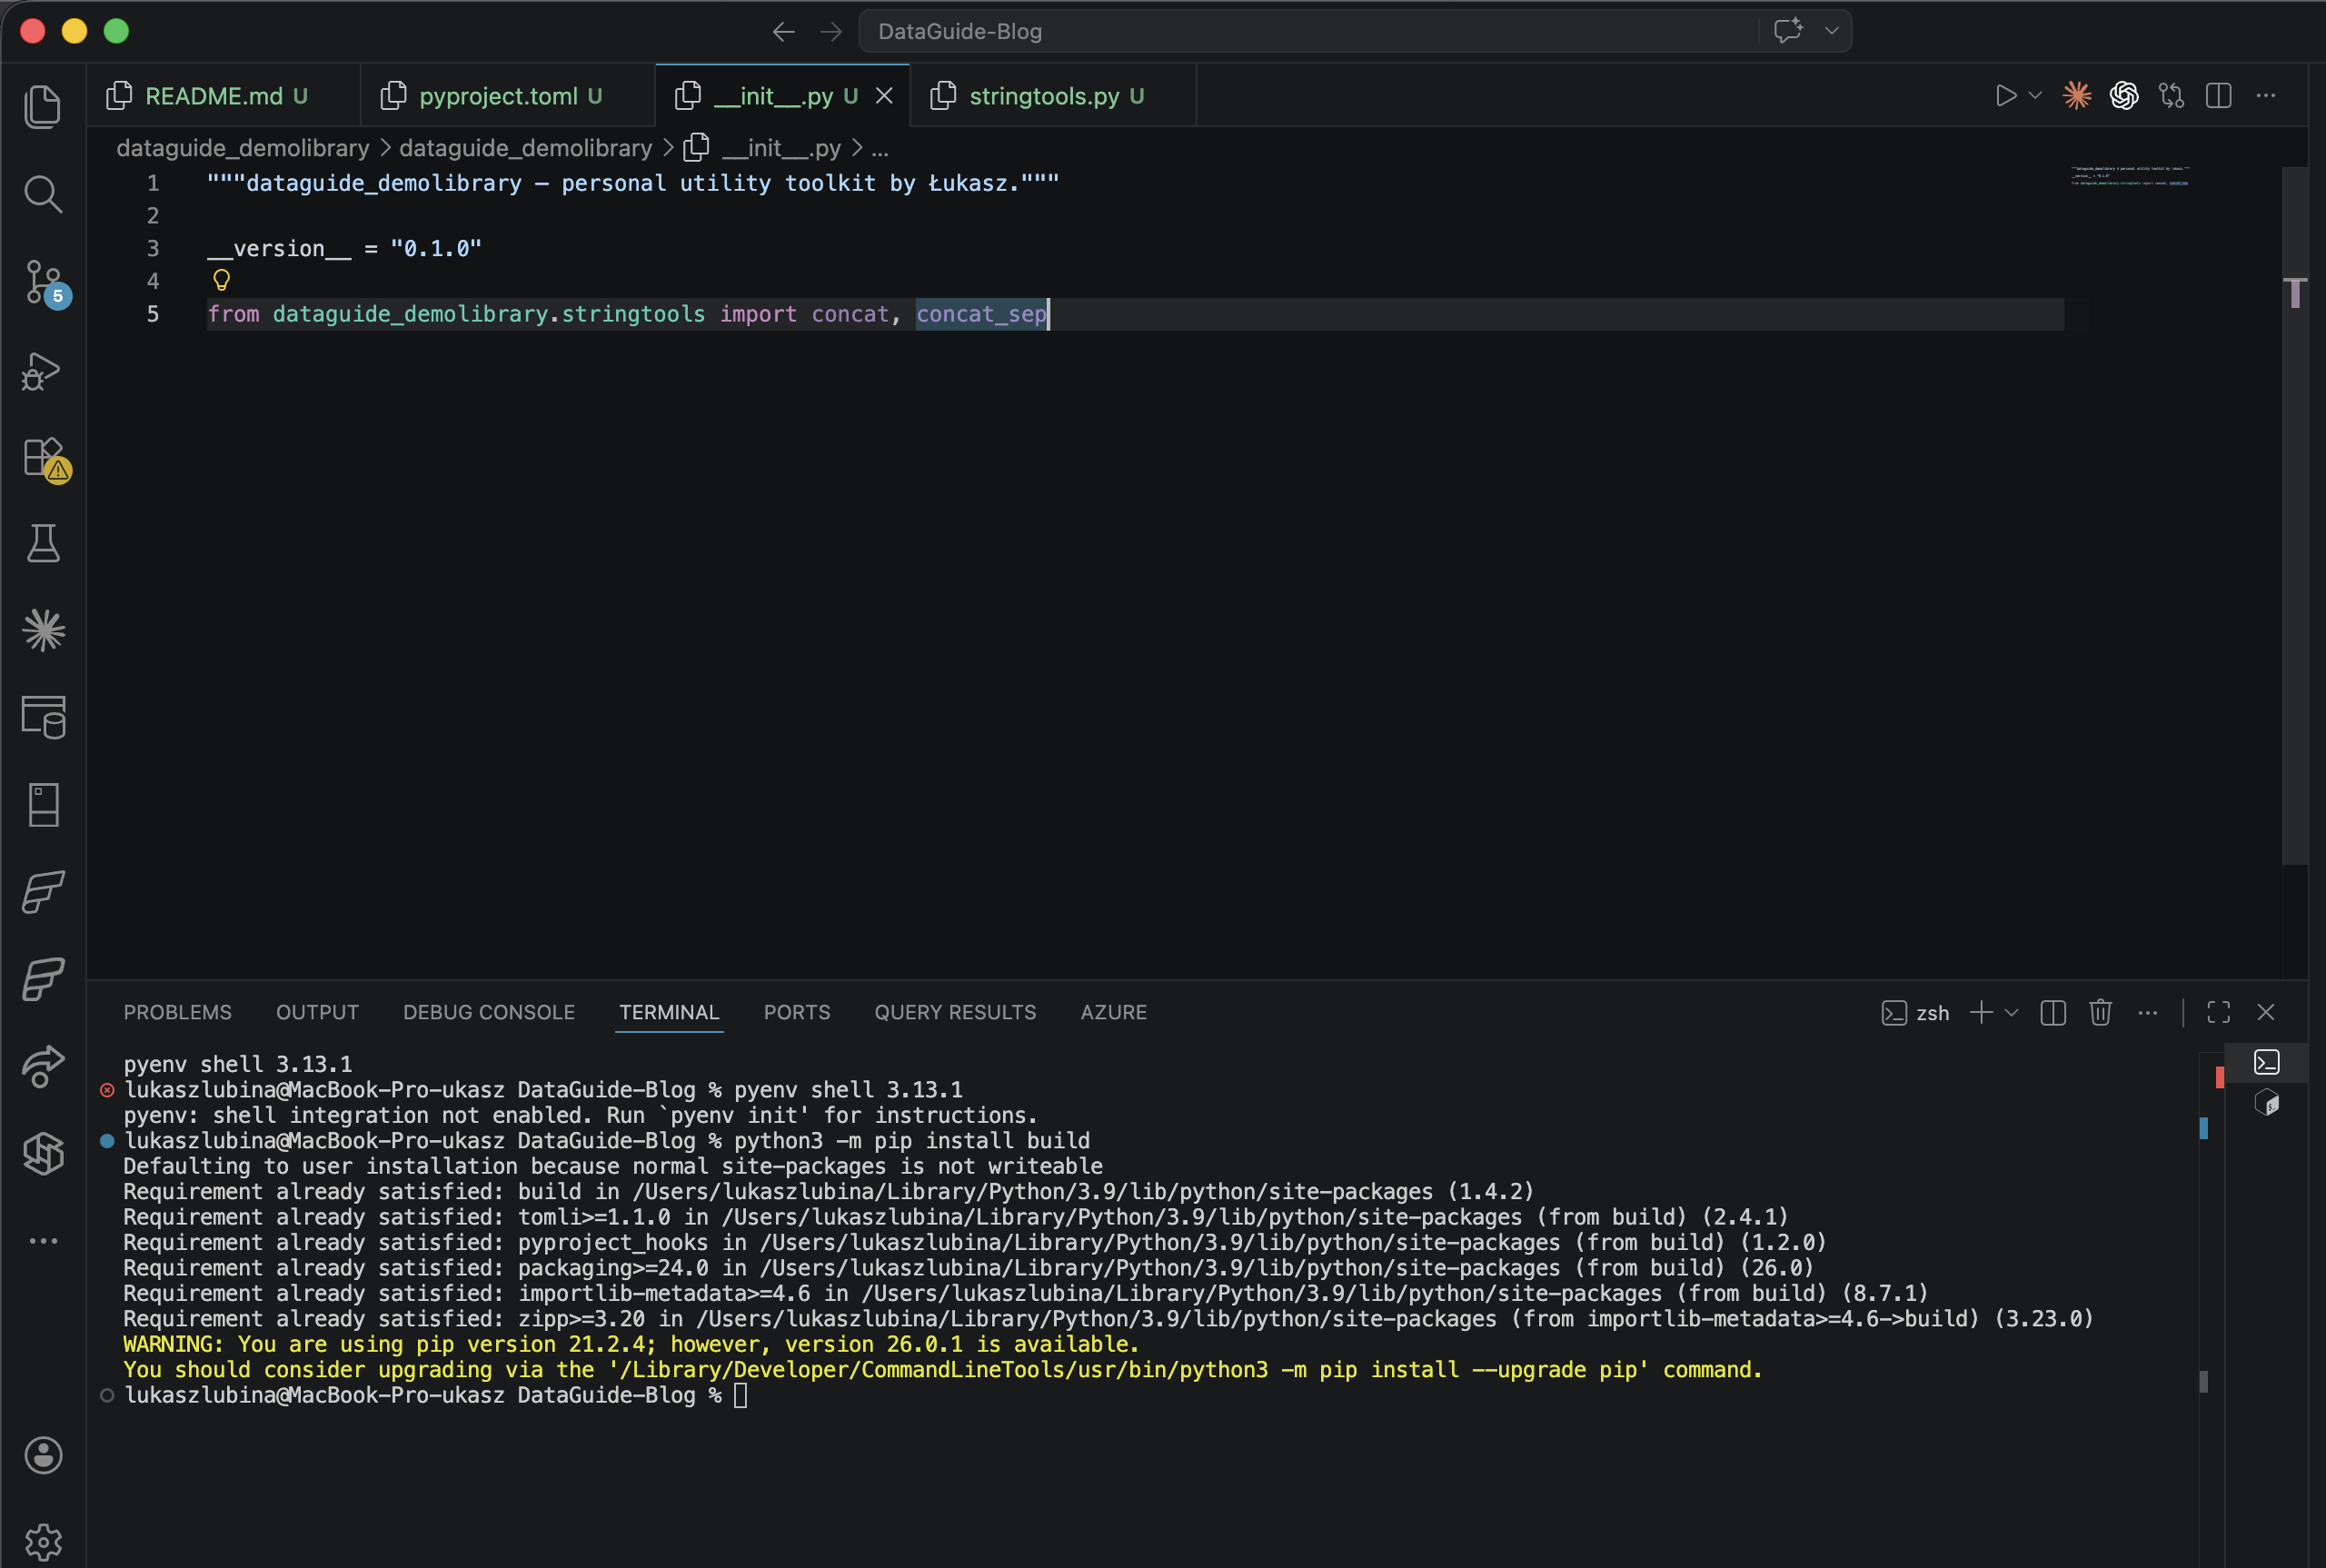
Install the build package:
- Windows:
pip install build - Mac:
python3 -m pip install build
This gives you the tooling to build your library into a .whl file:
Now build the wheel:
- Windows:
python -m build --wheel - Mac:
python3 -m build --wheel
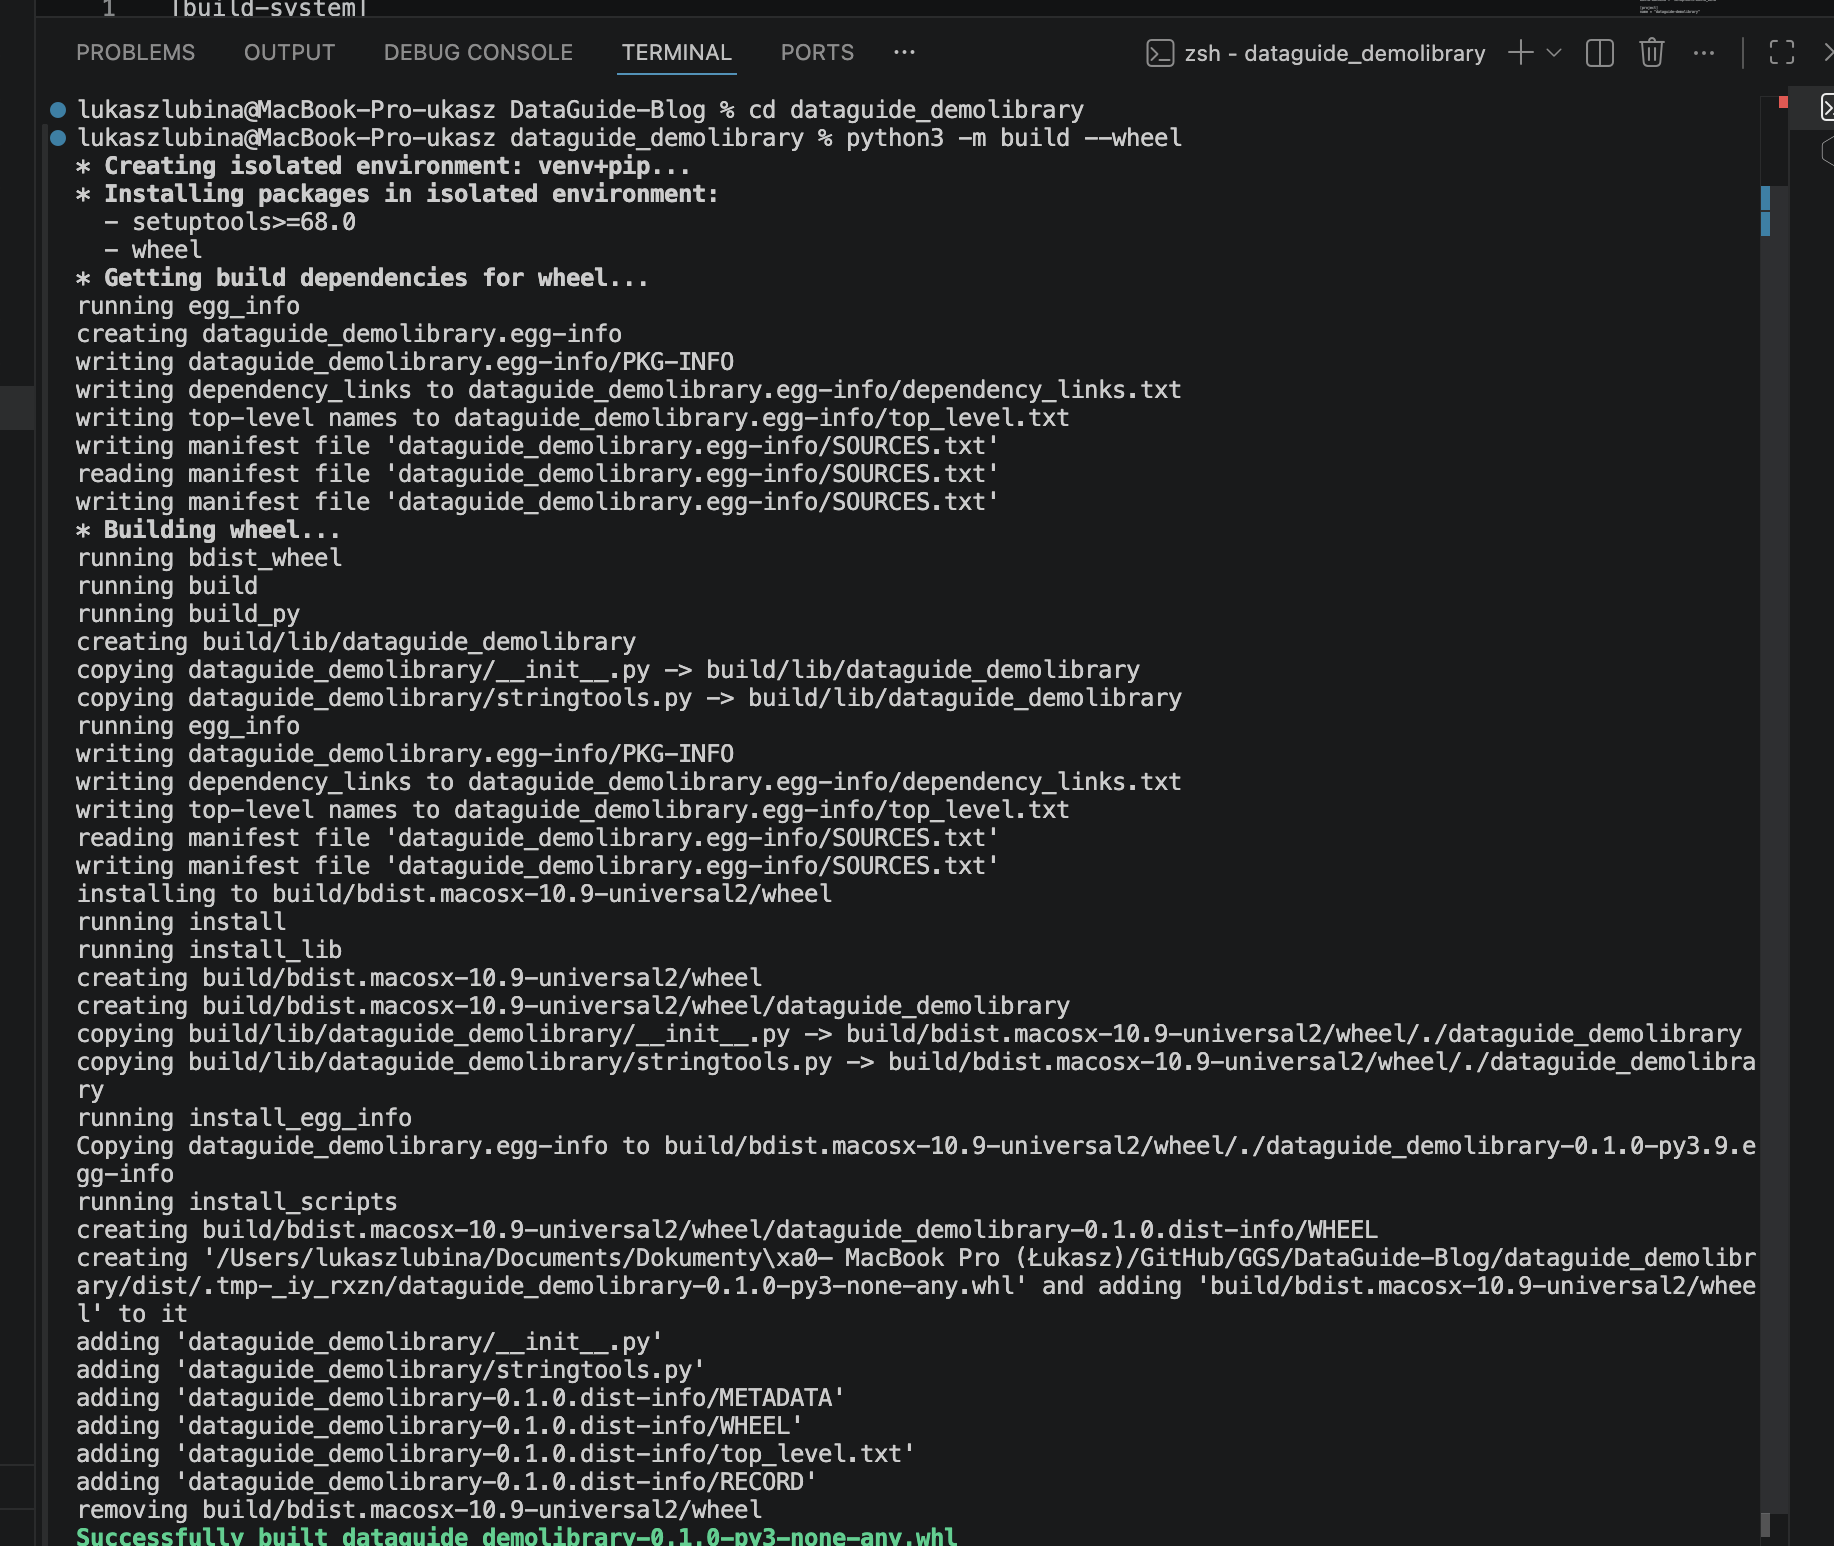
Heads up: you have to run this from the root folder of your project. If your terminal opened somewhere else, cd into it first:

When the build finishes, you’ll see two new folders:
dist/– your.whlfile lives here. This is what you’ll upload to Fabric.dataguide_demolibrary.egg-info/– metadata setuptools generates during the build (package name, version, dependencies, file list). Python uses it internally to track what’s installed.
Quick note: both folders are build artifacts, so add them to .gitignore. No reason to commit them.
The full code is also on my repo if you’d rather copy and adapt: GitHub.
Wrapping Up
That’s the whole flow. Folder structure, four files, one build command, one .whl. From here, follow the steps in Custom Environment – what’s that, what is the reason to upload the wheel as a custom library, share it across your team, and stop rewriting helpers every other notebook.
Quick recap:
- Standard Python package layout with
__init__.py, your modules,pyproject.toml, and a README python -m build --wheel(orpython3 -m build --wheelon Mac) compiles the.whl- The wheel goes into your Fabric Environment under custom libraries
- Every connected notebook gets the helpers as a normal import
Have you already built something like this for your team? Curious what kinds of helpers you’re packaging! I’m preparing one more post on how to deploy it and maintain in Fabric environment.
Happy coding!